Transforming unused corners into functional and stylish spaces is a dream for many homeowners. A DIY corner floating shelf is the perfect solution for achieving both practicality and aesthetic appeal in your home. Whether you're looking for a way to showcase your favorite decor, store books, or implement creative storage solutions, this guide will provide step-by-step instructions and ideas to bring your DIY vision to life. Along the way, we’ll touch on related concepts like creating a DIY floating bookcase, building a DIY floating book shelf, and exploring DIY wall shelving ideas to inspire your next project.
Benefits of DIY Corner Floating Shelves
1. Maximize Space Efficiency
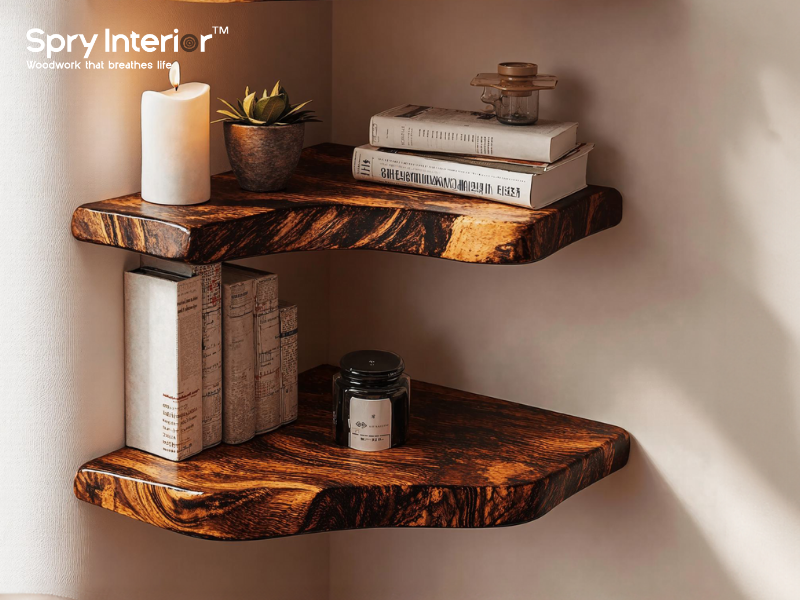
A corner floating shelf can transform neglected corners into efficient storage areas. Unlike traditional shelves, corner shelves optimize vertical and corner spaces, which are often overlooked. This is particularly useful in compact homes or apartments where every inch matters. Whether it's in your living room, bedroom, or kitchen, a corner shelf can serve as a practical yet stylish solution.

Buy now: Floating Corner Shelves Decorations
2. Aesthetic Appeal
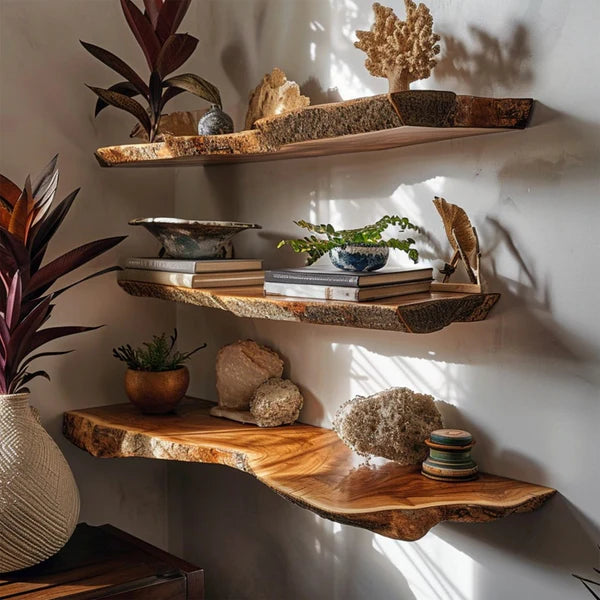
DIY corner floating shelves elevate the visual appeal of your room by adding depth and character. These shelves can be designed to match various interior styles, from modern minimalism to rustic charm. For instance, combining your shelf with elements of a DIY floating bookcase creates a functional yet decorative space to display your book collection, framed photos, or potted plants.

Buy now: Live Edge Wood Shelf Floating Shelves
3. Budget-Friendly Solution
Building a corner floating shelf yourself is a cost-effective way to achieve a high-end look without overspending. Unlike store-bought shelving units, DIY options allow you to choose materials, sizes, and finishes that fit your budget. Plus, the satisfaction of creating something unique makes it even more rewarding.
Materials and Tools Needed for DIY Corner Floating Shelf
1. Essential Materials
To create a sturdy and visually appealing corner floating shelf, you'll need:
- Wood Planks: Opt for durable types like pine, oak, or even reclaimed wood for a rustic look.
- Brackets or Hidden Supports: These provide structural support while keeping the floating effect intact.
- Wall Anchors and Screws: Ensure the shelf is securely attached to the wall.
2. Tools to Prepare
Having the right tools can make the process smoother and more enjoyable. Essential tools include:
- Power Drill: For precise holes and secure fittings.
- Saw: A circular or hand saw works best for cutting wood to the desired dimensions.
- Sandpaper or Electric Sander: For smoothing out the wood surface to achieve a polished finish.
3. Optional Accessories
Enhance your corner floating shelf with these extras:
- Paint or Stain: Customize the color or finish to complement your decor.
- Decorative Brackets: Add a touch of elegance with ornate brackets that double as supports.
- LED Lights: Highlight your shelf’s contents with subtle, built-in lighting.
Step-by-Step Guide to Build a DIY Corner Floating Shelf
1. Measure and Plan Your Shelf
Start by measuring the corner where you plan to install the shelf. Decide on the size, shape, and purpose of the shelf. For example, if you want a shelf to display books, consider integrating aspects of a DIY floating book shelf by ensuring the dimensions can accommodate various book sizes. Create a detailed sketch of your plan to guide the building process.

2. Cut and Sand the Wood
Using your measurements, cut the wood planks into the desired size and shape. If you’re creating a multi-tier shelf or adding a unique angle, double-check the cuts for accuracy. Sand the edges and surfaces to remove splinters and smooth out imperfections.

3. Assemble the Shelf
Attach brackets or hidden supports to the wood planks. For hidden supports, drill holes to fit the hardware seamlessly. This step is crucial for creating the "floating" effect that defines these shelves. Test the assembly before installation to ensure it’s secure and stable.

Installing Your DIY Corner Floating Shelf
1. Locate Wall Studs
Use a stud finder to locate sturdy areas within the walls. Mounting your shelf to a stud provides maximum support and reduces the risk of sagging or detachment. If studs aren’t available, use heavy-duty wall anchors for added stability.
2. Mount the Brackets
Mark the locations for the brackets or supports. Drill pilot holes into the wall and secure the brackets using screws. Double-check the alignment with a level to ensure your shelf sits evenly once installed.
3. Install and Decorate
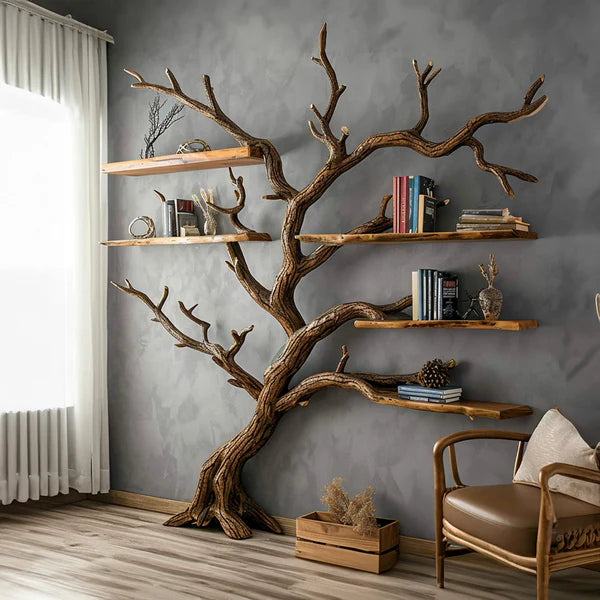
Place the shelf onto the mounted brackets and secure it with screws. Once installed, personalize the space by arranging books, plants, or decor items. If you’re inspired by DIY wall shelving ideas, consider adding multiple shelves in a staggered arrangement for a visually dynamic display.
Why Choose SpryInterior?
1. Customizable Options
SpryInterior offers a wide range of materials and designs tailored for DIY enthusiasts. Whether you’re creating a minimalist shelf or a statement piece, our Floating Shelves provide the flexibility you need to bring your vision to life.

2. Sustainability and Quality
All SpryInterior products are crafted from sustainable, high-quality materials. This ensures your corner floating shelf is not only beautiful but also built to last.

Buy now: Floating Shelves Wood Shelf Decor
3. Exceptional Customer Experience
With free shipping and a 30-day return policy, SpryInterior makes it easy to start your next project. Their customer support team is always ready to assist, ensuring a seamless experience from purchase to installation.
Conclusion
Building a DIY corner floating shelf is a rewarding project that combines functionality and style. Whether you’re designing a DIY floating bookcase for your reading nook, a DIY floating book shelf for your bedroom, or exploring creative DIY wall shelving ideas, this guide provides all the steps you need to succeed. For premium materials and inspiration, trust SpryInterior to bring your DIY dreams to life!



Leave a comment
This site is protected by hCaptcha and the hCaptcha Privacy Policy and Terms of Service apply.