A DIY floating book shelf is more than just a practical storage solution, it’s a creative way to enhance the aesthetics of your home. This simple yet elegant project allows you to display your books and decor while maintaining a clean, modern look. Whether you're tackling a single shelf or creating a full DIY floating bookcase, this guide will walk you through every step, inspiring you with creative DIY wall shelving ideas and even touching on related concepts like the versatile DIY corner floating shelf.
Why Choose a DIY Floating Book Shelf?
1. Minimalistic Aesthetic
Floating book shelves provide a sleek, modern look by eliminating visible supports. This minimalist design makes them an excellent choice for contemporary and minimalist interiors. Whether in a living room, bedroom, or study, they blend seamlessly into your space.

Buy now: Floating Wall Shelf Wood Shelves
2. Space-Saving Design
Unlike traditional shelves, floating book shelves free up floor space, making them ideal for small apartments or rooms. Their wall-mounted design maximizes vertical storage, allowing you to display your books and decor without compromising on room functionality.

3. Customizable to Your Needs
One of the biggest advantages of building your own floating book shelf is customization. You can choose the size, shape, color, and finish to match your decor and storage needs, ensuring the final result fits perfectly into your space.

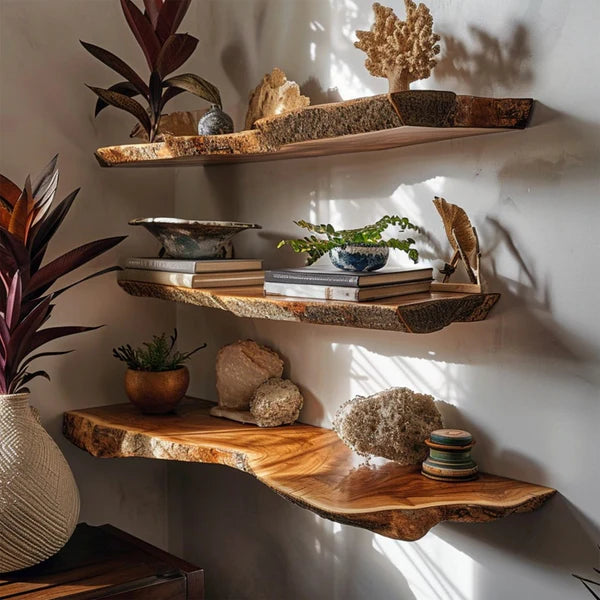
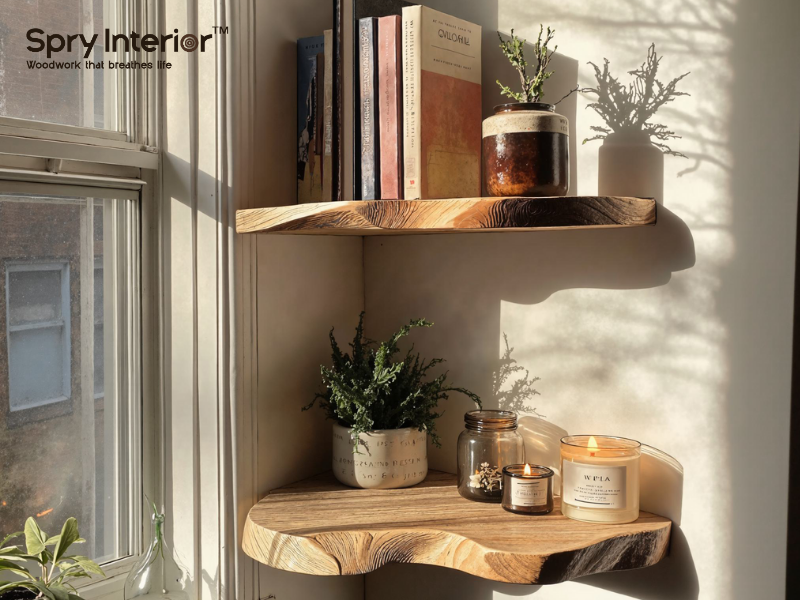
Buy now: Handcraft Floating Corner Shelves Wooden Shelves
Materials and Tools for Your DIY Floating Book Shelf
1. Essential Materials
To create a sturdy and stylish shelf, you'll need:
- Wood Planks: Choose durable wood such as pine, oak, or reclaimed wood for a rustic look.
- Hidden Brackets: These are key to achieving the "floating" effect.
- Wall Anchors and Screws: Ensure your shelf is securely attached to the wall.
2. Tools You’ll Need
Gather the following tools to make the process smooth and efficient:
- Power Drill: For drilling pilot holes and securing the brackets.
- Saw: To cut the wood to your desired dimensions.
- Level: Ensures your shelf is mounted evenly.
3. Optional Finishing Accessories
For a polished look, consider adding:
- Paint or Stain: Match your shelf to your room’s decor.
- Edge Trimming: For a clean, finished appearance.
- Decorative Items: Use small plants, bookends, or figurines to add personality.
Step-by-Step Guide to Building a DIY Floating Book Shelf
1. Plan and Measure
Start by choosing the wall where you want to install your floating book shelf. Measure the available space and decide on the dimensions of your shelf. Sketch out your design, considering the weight of the books and decor items you plan to place on it.
2. Cut and Sand the Wood
Using your measurements, cut the wood planks to size. Smooth the edges and surfaces with sandpaper or an electric sander to prevent splinters and give your shelf a polished look.

3. Attach the Brackets
Position the brackets or hidden supports on the wall where you plan to install the shelf. Drill pilot holes and secure the brackets with screws. Ensure they are level and spaced correctly to support the weight evenly.
Installing and Decorating Your DIY Floating Book Shelf
1. Mount the Shelf
Place the prepared wood plank onto the brackets and secure it using screws. Double-check that everything is level and sturdy before proceeding.
2. Arrange Your Books
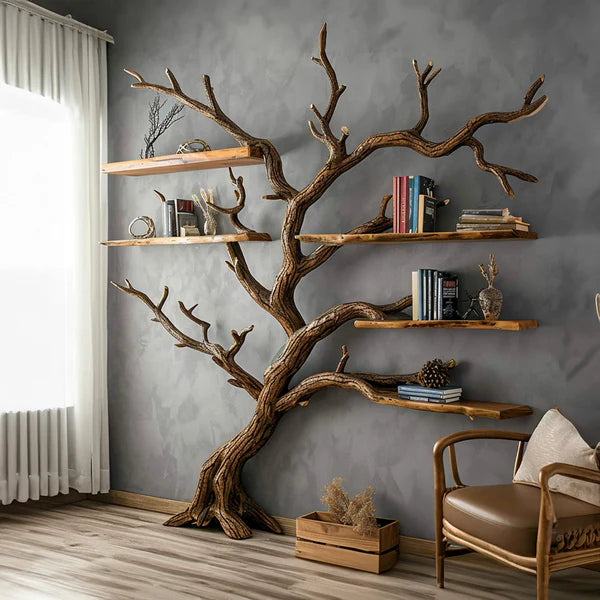
Start by organizing your books. Use a mix of vertical and horizontal arrangements for visual interest. For a DIY floating bookcase effect, stack multiple shelves on the same wall, creating a cohesive and functional display.

Buy now: Live Edge Wooden Floating Shelf
3. Add Decorative Touches
Incorporate decor elements such as small plants, framed photos, or collectibles to add personality to your shelf. These items also help balance the visual weight of your books, creating a harmonious display.
Exploring Creative DIY Wall Shelving Ideas
1. Mix and Match Shelves
Combine floating book shelves with other shelving types to create a unique display. For instance, mix them with a DIY corner floating shelf for a dynamic and functional storage solution.
2. Use Color and Texture
Experiment with paint and stains to add character to your shelves. A bold color can make the shelf a statement piece, while a natural wood finish offers a timeless appeal.

Buy now: Solid Wood Floating Wall Shelf
3. Go Beyond Books
Floating shelves aren’t just for books. Use them to display art, plants, or even a mini-gallery wall. Let your imagination guide you to create a personalized and unique design.
Why Choose SpryInterior for Your DIY Floating Book Shelf?
1. Premium Materials for Lasting Quality
SpryInterior offers a range of high-quality materials designed to stand the test of time. From sustainably sourced wood to durable hardware, our products ensure your shelves are both sturdy and beautiful.
2. Customizable Designs
Whether you’re creating a simple floating shelf or a full DIY floating bookcase, our Floating Shelves provides customizable options to suit your unique vision. Choose from a variety of finishes, sizes, and designs to bring your ideas to life.

3. Excellent Customer Support
SpryInterior is committed to your success. With free shipping, a 30-day return policy, and dedicated customer support, we make it easy to start your DIY journey with confidence.
Conclusion
A DIY floating book shelf is the perfect blend of style and functionality. Whether you’re creating a single shelf, experimenting with a DIY floating bookcase, or combining it with a DIY corner floating shelf for a cohesive look, the possibilities are endless. Use this project as an opportunity to explore DIY wall shelving ideas and personalize your space. For premium materials and inspiration, choose SpryInterior to make your DIY dreams a reality!



Leave a comment
This site is protected by hCaptcha and the hCaptcha Privacy Policy and Terms of Service apply.