Creating a natural wood floating corner shelf not only adds beauty to your home but also provides much-needed storage without taking up floor space. So how to make a wood floating shelf? With a few quality tools, materials, and guidance, you can create a beautiful floating shelf that complements your decor and serves a practical purpose. This guide will walk you through every step of the process, from choosing the right wood to decorating your finished product. Whether you are a seasoned DIY enthusiast or a beginner looking for a project, this blog post has something for everyone.
Step-by-Step Guide to Building a Wood Floating Shelf
Building a wood floating shelf may initially seem daunting, but with the right approach and clear instructions, it can be a rewarding DIY project. Follow these steps closely to ensure a successful build.

Gather Your Materials and Tools
Before diving into construction, it's essential to gather all necessary materials and tools.
First, choose the wood type. Popular options include pine, oak, walnut, and maple—each offering a unique aesthetic and durability.
Other materials you'll need include:
- A wood board (the size depending on your design)
- Wood screws
- Wall anchors (if mounting onto drywall)
- Sandpaper (medium and fine grit)
- Wood finish or sealant
Next, let’s discuss tools. You will likely need:
- A drill
- A saw (circular or hand saw, depending on preference)
- A level
- A measuring tape
- A stud finder
Having everything prepared in advance is crucial. Not only does it save time, but it also minimizes interruptions during the building process.
Measure and cut the wood
Accurate measurements are crucial for a successful woodworking wall shelf project. Determine the ideal location and take precise measurements, accounting for height, width, and depth. Mark the measurements on your wood board, leaving space for finishes. Cutting the wood with care and precision ensures a clean, professional look. Follow safety guidelines and use appropriate protective gear throughout the process.
Sand and finish the wood
Sanding is a crucial step in woodworking, ensuring a smooth and professional finish. Start with medium-grit sandpaper to remove rough edges, then switch to fine-grit for a smoother surface. Sand in the direction of the grain to avoid scratches. Finish your wood with a stain or oil to enhance its natural beauty and protect against wear and tear.
Mounting Options for Wood Floating Shelves
Selecting the right mounting option is critical for ensuring your raw wood floating shelves remain secure and functional over time. There are several methods to consider, each with its advantages and drawbacks.

Traditional bracket mounting
Visible brackets provide strong support but may not suit minimalist aesthetics. Use high-quality brackets for stability, matching the shelf’s weight and contents.
Hidden Bracket Installation
Concealed brackets offer a sleek, floating look. This method requires precise drilling for proper alignment and level hanging.
Cleat Method
A wooden cleat securely supports longer shelves while maintaining a minimalist appearance. The shelf slides onto the cleat for easy installation.
Wall Material Considerations
Use wall anchors for drywall and masonry anchors for brick or concrete. Choose the right method and hardware based on your wall type for secure, safe mounting.
Ideas for Decorating Your Wood Floating Shelf
Once your floating shelf is completed and mounted, the fun part begins: decorating! The way you style the shelf can significantly impact the overall look of your room.
Using decorative objects

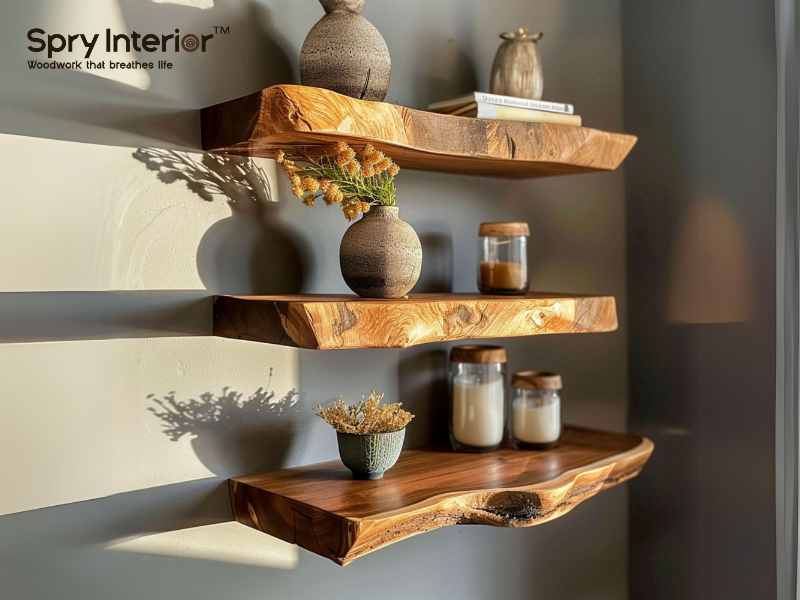
Buy now: Walnut floating shelf small floating shelf
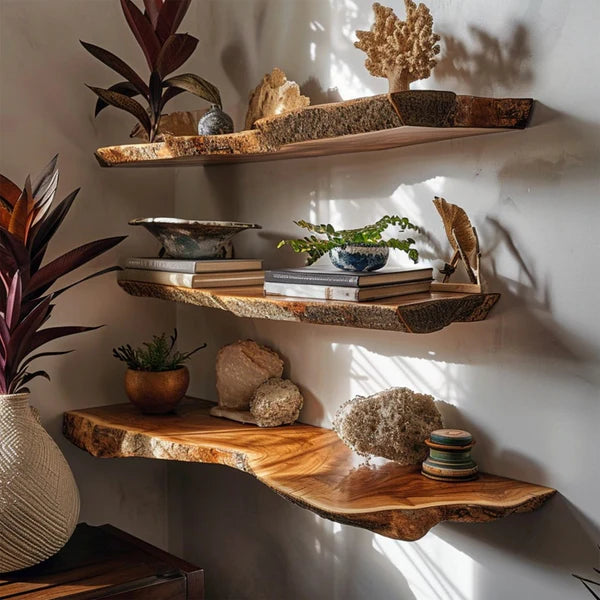
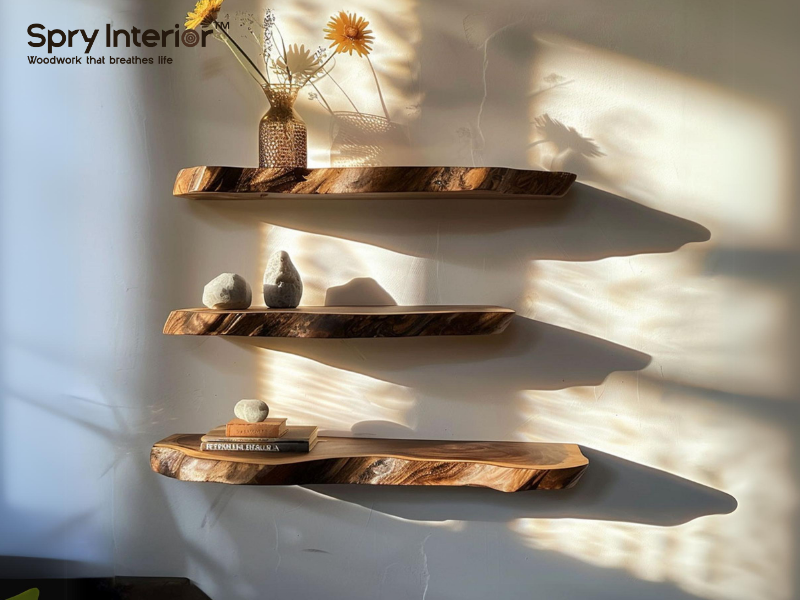
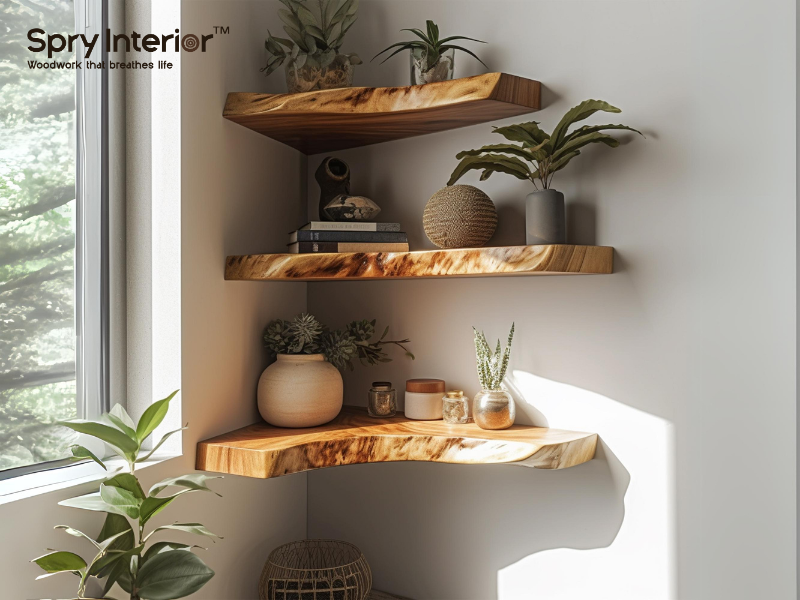
Personalize your space with carefully curated decorative objects. Choose vases, sculptures, or books that reflect your unique style. Combine different textures and materials for a visually interesting arrangement. Create a space that feels inviting and tells your story.
Incorporating Plants

Incorporate plants like pothos or snake plants to enhance visual appeal and air quality, selecting varieties that suit your home’s lighting.
Mixing Height and Depth
Arrange items with varying heights for depth. Use book stacks or taller decor behind smaller pieces for a dynamic, layered look.
Seasonal Decorations
Refresh shelves with seasonal items—pumpkins in fall or holiday decor in winter—keeping your space lively and adaptable year-round.
SpryInterior's self-install floating shelf options
If DIY isn’t your style or you’re looking for a quick solution, companies like SpryInterior offer self-install floating shelf kits that make installation a breeze.
These kits come with pre-cut wood, mounting hardware, and detailed instructions to help you achieve professional results with minimal effort.
Variety of Styles
SpryInterior provides a range of styles and finishes to suit different aesthetics. From rustic reclaimed wood to sleek modern lines, there’s something for everyone.
You can easily find a design that complements your existing decor, enhancing your interior without the hassle of building from scratch.
Easy Installation Process
Their kits are designed for easy installation, often featuring pre-drilled holes and user-friendly instructions.
This saves time and reduces the likelihood of errors, making it a fantastic option for beginners or those pressed for time.
Whether you prefer the look of natural wood or painted finishes, SpryInterior offers versatile options that require minimal effort to install.
Customization Options

For those wanting a more personalized touch, explore custom options available through SpryInterior.
You may have the opportunity to select specific materials, colors, or sizes that match your vision.
This flexibility means you don’t have to settle for generic designs; instead, you can create a space that showcases your personality.
Conclusion
Create a functional and stylish wood floating shelf with this DIY project. Learn how to choose the right materials, explore mounting options, and decorate your new shelf. Discover the benefits of a well-crafted floating shelf for organizing and showcasing your belongings.
If DIY isn't your forte, explore professional installation services like SpryInterior to effortlessly achieve your desired look. Transform your living space with a beautiful floating shelf today.



Leave a comment
This site is protected by hCaptcha and the hCaptcha Privacy Policy and Terms of Service apply.